Seasoning a new smoker before initial use is crucial to laying the foundation for great BBQ results. Doing so removes unwanted odors from the production process, protects the smoker from the elements and cures the paint, which helps it look new for years to come. Read on for six simple steps to successful seasoning.
Instructions
List
Steps
Show Photos:
On
Off
Step 1
Of 6
Season a New Smoker
1.
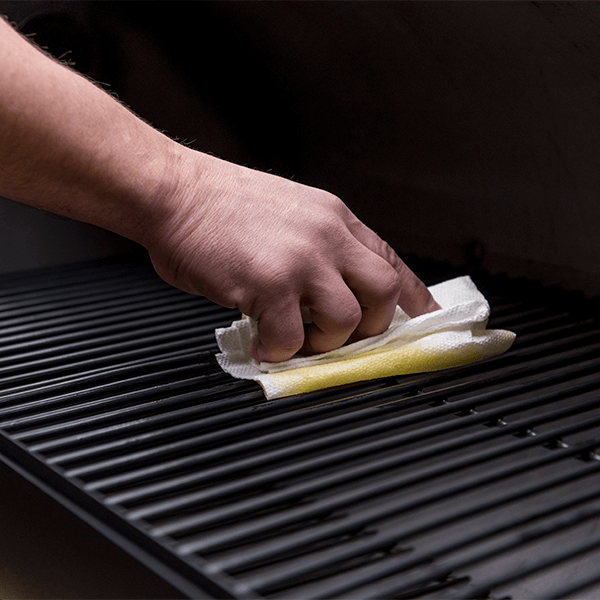
Coat the entire interior of your new smoker with a high burn-point cooking oil like canola or grapeseed oil. Don't forget to include the racks, lid and walls.
2.
Fill one chimney with charcoal and light them using a fire starter. The chimney should be fully engulfed in smoke within 10 minutes, give or take a few.
3.
While the chimney heats up, add more charcoal to the firebox on the smoker. Once the chimney is fully ignited, pour the lit coals into the firebox.
4.
Make sure the exhaust and intake are completely open to allow for the greatest amount of airflow. You will take the smoker to a (slightly) higher temperature than normally used when smoking.
5.
Allow the smoker to reach at least 275-300 degrees Fahrenheit for 2-3 hours. This'll ensure any leftover production chemicals and solvents burn off.
6.
Allow the smoker to cool down completely before cooking on it.
Hot TipIf you want to add wood to the firebox while seasoning, make sure to use the same kind of wood you'll for smoking. Wood that isn't normally used for smoking can add harsh flavors to meat during your next cook.