How to Assemble the Rider DLX Pellet Grill
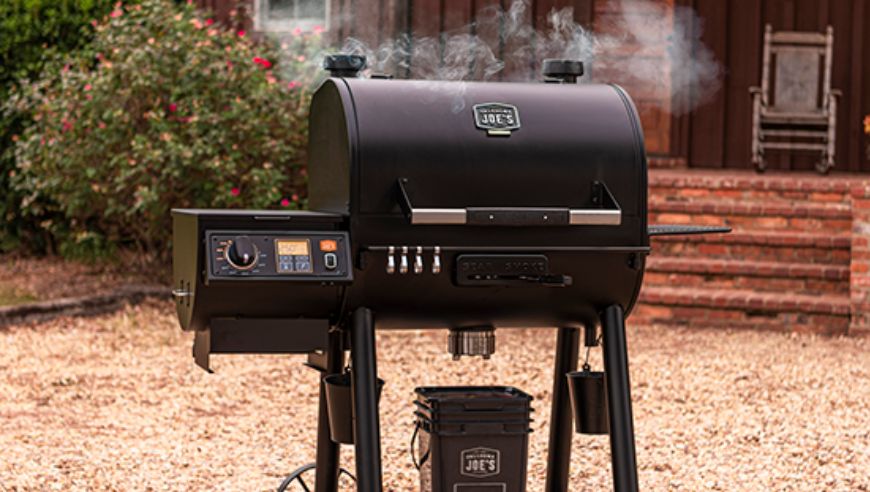
Learn how to assemble your Oklahoma Joe’s® Rider DLX Pellet Grill with instructions straight from Oklahoma Joe’s. We’ll walk you through the pellet grill’s easy assembly with detailed, step-by-step directions and safety tips. Welcome to pellet grilling done right.
In addition to reading this article, we recommend that you watch our assembly video to familiarize yourself with all of the parts and pieces and to see the process from start to finish. Keep your Assembly Guide handy for reference throughout the process.
How long does it take to put the Rider DLX Pellet Grill together?
From start to finish, plan for about an hour to put your pellet grill together.
Are pellet grills easy to assemble?
The Rider DLX Pellet Grill is easy to assemble. All you need is an adjustable wrench and a Phillips head screwdriver. The main components are pre-assembled and just need to be connected to each other.
WARNING: To prevent personal injury and product damage, be sure to have a friend help you with assembly.
How do you assemble the Rider DLX Pellet Grill?
Before you begin assembly, find a level, stable surface with carpet or soft padding to protect the finish and prevent damage to your new pellet grill. Slice the carton from top to bottom at all 4 corners with a sharp utility knife and lay the carton flat for easier access to the product. Unpack the grill, parts and hardware.
WARNING: Wear protective gloves when handling parts with sharp edges.
- Connect the digital control box to the hopper, remove the heat baffle cover and set it aside. Carefully turn the unit onto its side, with your friend’s help.
- Insert casters into the bottom of the legs without axles and attach the legs under the right side of the grill. Install the legs with axles under the left side. Then, install the bottom shelf by attaching to the legs, aligned with pre-drilled holes. Slide wagon wheels onto the axels and secure them with retaining clips. Lifting from the cook chamber side, stand the grill upright, again with your friend’s help.
WARNING: Do NOT use the pellet release handle to lift or move your grill.
- Install the pellet bucket mount under the hopper and screw the ash cup into place under the cook chamber.
- Drop the side shelf hooks into the cylindrical mounting brackets on the right side of the unit and secure. Feed the tool hooks onto the towel bar and drop the towel bar hooks in the mounting brackets on the front of the unit and secure. Attach the handle to the cook chamber door.
- Insert the smokestack bases through the top of the cook chamber from the inside and secure. Then, carefully screw on the smoke stack caps.
- Set the grease tent inside the cook chamber to the left side of the heat baffle. Then, place the heat baffle cover back inside the unit. Place the side and center cooking grates over the baffle and insert the upper cooking racks into the brackets on the back wall.
- Connect the SEAR SMOKE selector to the heat baffle through the slot on the front of the grill.
- Slide the pellet bucket into the pellet bucket mount and hang the grease buckets on the hooks under the cook chamber.
Congrats, you're finished assembling your Oklahoma Joe's Rider DLX Grill. Ready to learn How to Season the Rider DLX Pellet Grill?
For pellet grill recipes and answers to your most frequently asked questions, go to oklahomajoes.com.